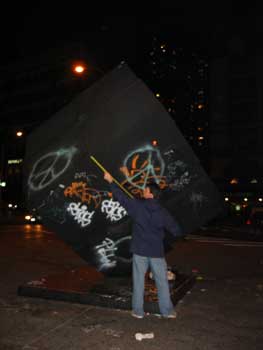
One of the most prominent landmarks in the East Village in Manhattan is a statue of a giant steel cube. The cube was built at Astor Place in 1968, and has stood there ever since. The cube can spin on its axis, which is pretty entertaining the first time, and requires a few people to get it moving.
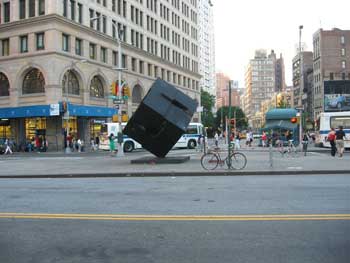
Typically surrounding the cube is an endless supply of skateboarders and Goth kids, as the cube has become a central hangout for many East Village kids and runoff from St. Marks Place. The cube sits directly in front of the most crowded Starbucks in New York City- so popular that they built a second one on the opposite corner and that one is constantly packed too! The cube is right next to a 6 train subway line, with thousands of commuters passing through every morning.
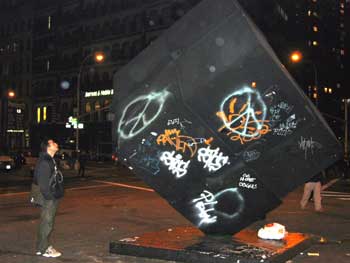
What an amazing place to pull off a prank!
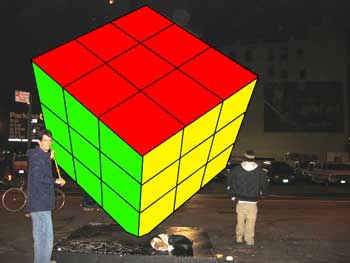
So in true All Too Flat style, we decided the plain black cube would look nicer as the world's largest Rubik's Cube!
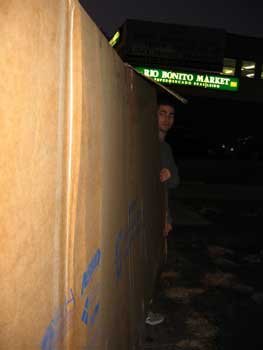
We were all really excited about the Rubik's Cube prank. The first
thing we needed to do was scope out the site and take some
measurements and see what the scene was like late at night. So we
went out with some tape measures and a camera to gather some stats.
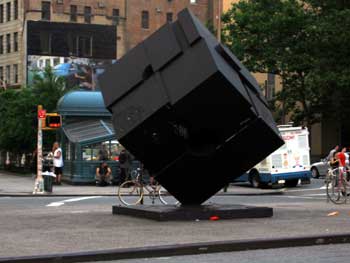
The cube measures 8'x8'x8' (2.44m^3).
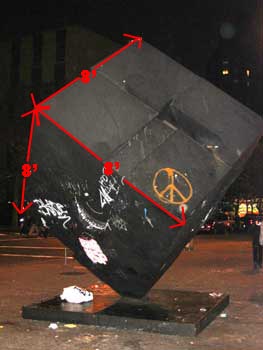
It is standing on one vertex, such that the tippy top reaches around
12' in the air (see kids- geometry and trig DO have applications in
real life! Remind me to make a Pythagoras Trading Card when this is over).
Oh, and I'm supposed to give credit where credit is due (we got a C&D), so I'd like to mention that the cube is technically called the Alamo. Here are some interesting facts about it and the artist and his copyright:
Tony Rosenthal
"Alamo", 1967
Painted CorTen steel, 15\' high
Collection New York City, Astor Place
Copyright Tony Rosenthal 2006
http://www.tonyrosenthal.com
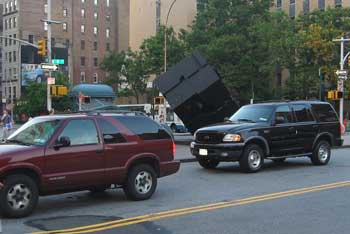
Here is a picture comparing the size of the cube to a Ford Explorer and a Chevy Trailblazer (because we all know exactly how big a Trailblazer is):
After all our measurements were taken, we created an artist's
rendering of what we hoped the finished Rubik's Cube would look like:

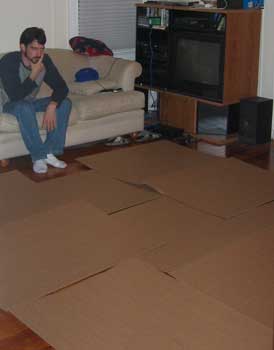
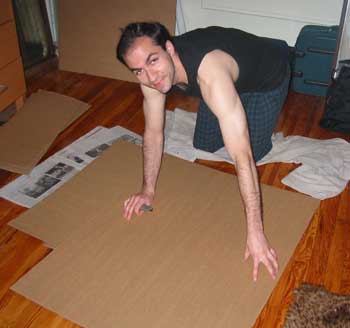
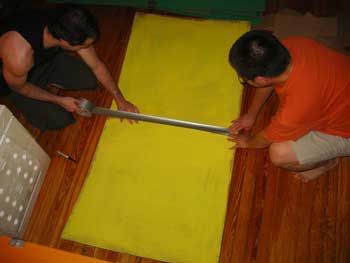
Next we set upon the difficult task of planning how to build
this darn thing. 8 feet by 8 feet doesn't sound that big until you trace it out
on the floor of your apartment. Then you realize the task at hand it
a little more difficult that you initially thought.
We were pretty sure we wanted to use cardboard to cover the
cube. We definitely didn't want to paint it or do anything
destructive. So we began gathering boxes. There are always a ton of
boxes being recycled in NYC on the street, so we figured there would
be no problem. But after picking up a few, we again remembered exactly
how big this cube was.
All told, we needed 382 square feet of cardboard. Spread out, that is
almost 20'x20'.
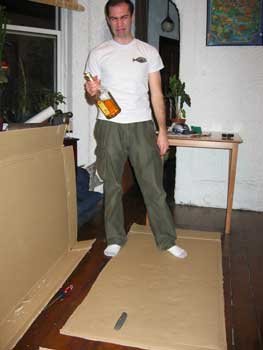
So we met with an artist / architect consultant and discussed
possible solutions over half priced margaritas. Because doors
generally aren't 8' tall, we realized we'd
have to do a lot of the assembly outside. At the end we decided
the best plan would be to create nine 32"x32" cardboard squares for
each side. We could then assmble the sides outdoors the night of the
prank. We needed 54 panels.
After some more deliberation and cutting apart boxes with an Xacto
knife, we decided to find a cardboard wholeseller and buy sheets of
cardboard. Kennyb got in his truck and went to pick up 60 sheets of
cardboard, each measuring 30"x40".
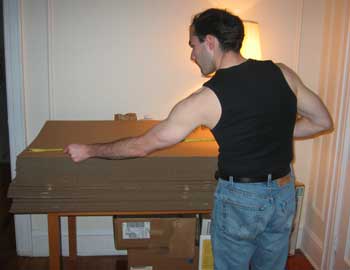
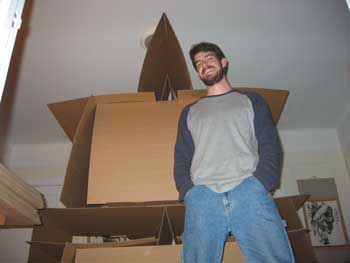
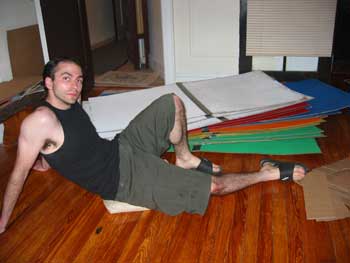
Ben showing off our larger-than-life card tower:
We trimmed off one end and were left with perfect 30"x30" squares. Sweet.
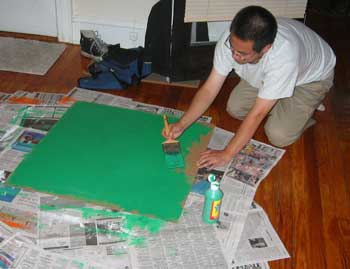
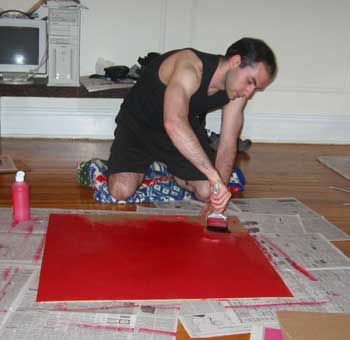
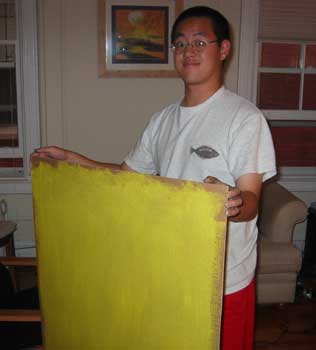
Next we bought some tempera paint and set off to do some painting.
The colors of the Rubik's Cube are:
Red
Orange
Yellow
Green
Blue
White
It's important to make sure that the colors are on the correct sides
of the cube too. We decided to pose this as a logic puzzle. Here are
the clues:
Three touching sides have the same colors as the American flag
The two lightest colors do not touch each other
An acronym for one of the sides is B.O.W
Ton spent much of the preparation time looking thoughtfully at our
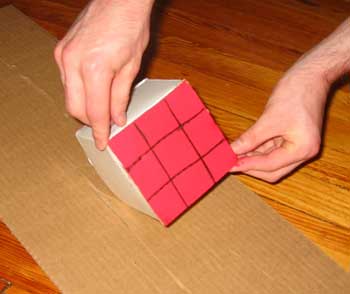
model cube and figuring out which colors should go where.

We even created colored panels for our little model:
We decided the best way to connect the panels was brute force duct
tape. We debated building a stronger frame possibly out of wooden
dowels or polystyrene parallelpipeds, but they cost waaay too much.
And at the end of the day, what is more useful than duct tape?
Nothing.
We also figured that the more work we did before we got outside, the
better, so we connected every 2 adjacent squares while we were still inside.
At around 1:30am we hopped in the truck to head to the East Village to
meet our team for our 3am rendevous.
Next: On to the deployment!